Achieving optimal airflow in your PC is crucial for maintaining its performance and longevity. Whether you’re an avid gamer, a developer, or simply someone who uses their computer intensively, ensuring that your system stays cool can prevent overheating and potential damage. Installing additional case fans is a practical and effective way to enhance airflow within your PC. This guide will walk you through the steps to install additional case fans for better airflow.
Why Additional Case Fans are Important
When the components of your computer generate heat, it’s essential to have a way to dissipate this heat efficiently. Case fans help in managing the airflow, which in turn helps to keep the system cool. Here are some benefits of having additional case fans installed:
- Improved Cooling: Additional case fans help to dissipate heat, thereby maintaining an optimal temperature for your PC.
- Enhanced Performance: Cooler components can function more efficiently, which may lead to improved overall performance.
- Longevity: By keeping the heat in check, you can extend the lifespan of your computer’s components.
- Noise Reduction: Proper cooling can reduce the need for your components’ built-in fans to work overtime, thereby reducing noise.
Things You’ll Need
Before starting, make sure you have the following materials:
- Additional case fans (ensure they are compatible with your case)
- Screws and a screwdriver
- Anti-vibration mounts (optional)
- Fan splitter or adapter (if required)
- Zip ties for cable management
Step-by-Step Guide to Installing Additional Case Fans
Step 1: Determine Fan Placements
It’s essential to plan where you will place the additional fans in your case. Most cases have predefined spots for case fans, often in the front, rear, top, and sometimes at the bottom. It’s crucial to install fans in a way that optimizes airflow:
- Front: Intakes cool air into the case.
- Rear: Exhausts warm air out of the case.
- Top: Usually exhausts warm air due to rising heat.
- Bottom: Intakes cool air, aiding in cooling components like the GPU.
| Fan Location | Function | Recommended |
|---|---|---|
| Front | Intake | Yes |
| Rear | Exhaust | Yes |
| Top | Exhaust | If space allows |
| Bottom | Intake | Optional |
Step 2: Prepare Your Case
Before installing the fans, ensure that your PC is powered off and unplugged. Remove the side panels of your case to access the internal components. If necessary, use an anti-static wrist strap to prevent static electricity from damaging your components.
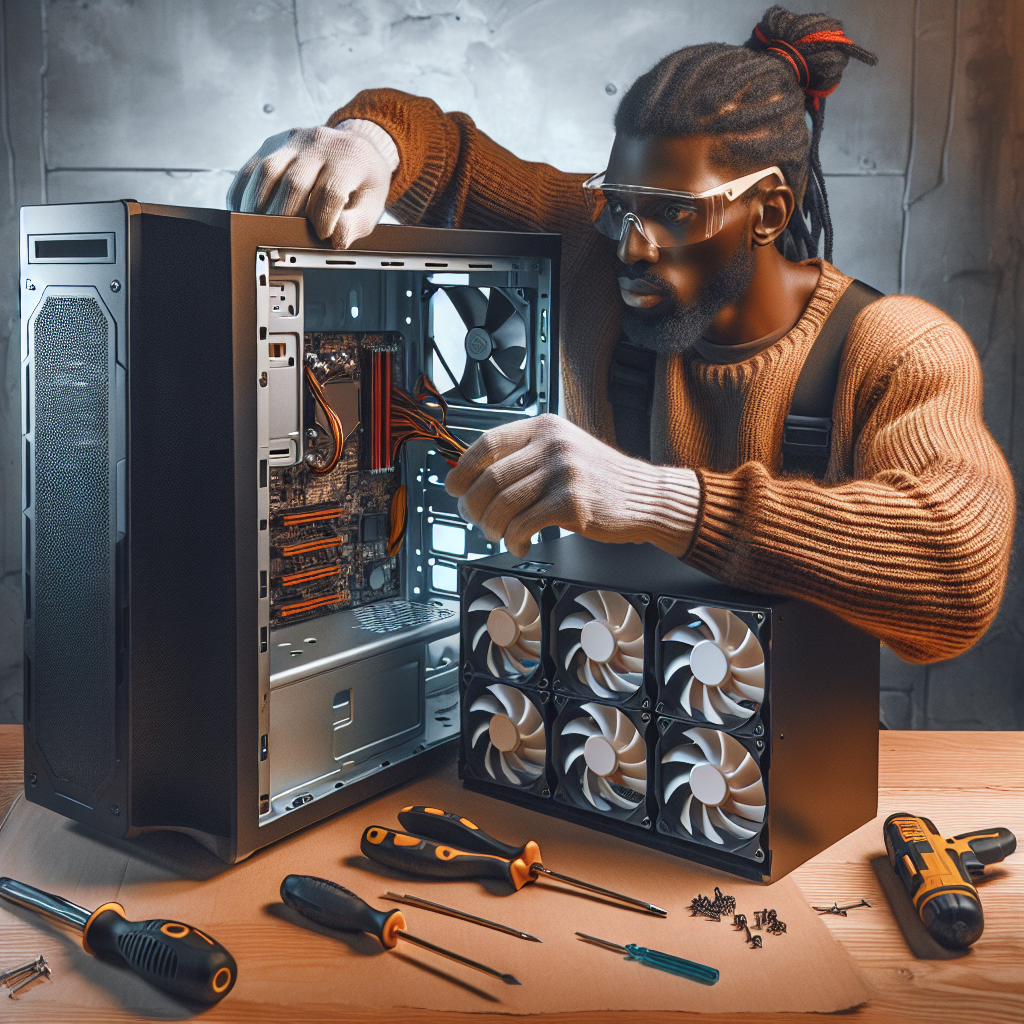
Step 3: Install the Fans
- Align the fan with the designated mounting holes in your case.
- Secure the fan using the screws provided. If you’re using anti-vibration mounts, install them according to the manufacturer’s instructions.
- Ensure the fans are oriented correctly: intake fans should face inwards and exhaust fans should face outwards.
Step 4: Connect the Fans
Once the fans are installed, you’ll need to connect them to your motherboard or power supply:
- Motherboard Connection: Most modern motherboards have multiple 3-pin or 4-pin fan headers. Simply connect the fan cables to these headers.
- Power Supply Connection: If you run out of fan headers or your fans require more power, connect them directly to the power supply using adapters.
If connecting multiple fans to a single header, use a fan splitter or hub to distribute the power evenly.
Step 5: Manage the Cables
Good cable management is essential for maintaining optimal airflow and a tidy appearance. Use zip ties to bundle and secure any loose wires. Ensure that cables are not obstructing the airflow path.
Step 6: Test the Fans
After everything is installed and connected, power on your PC and ensure that the fans are working correctly. You can use software tools to monitor fan speeds and ensure everything is functioning optimally.
Additional Tips for Better Airflow
- Keep it Clean: Dust buildup can significantly hinder airflow. Regularly clean your case and components using compressed air.
- Balance Intake and Exhaust: Aim to have a balanced or slightly positive air pressure (more intake than exhaust) to minimize dust accumulation.
- Upgrade Components: Consider upgrading your CPU cooler and GPU cooler if they are not effectively cooling your components.
- Monitor Temperatures: Use monitoring software to keep an eye on your system’s temperatures and adjust fan configurations as needed.
Conclusion
Installing additional case fans is a straightforward yet effective way to improve your PC’s cooling capabilities. By following these steps and tips, you can ensure that your system stays cool, performs optimally, and enjoys a longer lifespan. Whether you’re a seasoned PC enthusiast or a beginner, optimizing your PC’s airflow can make a noticeable difference in performance and reliability.