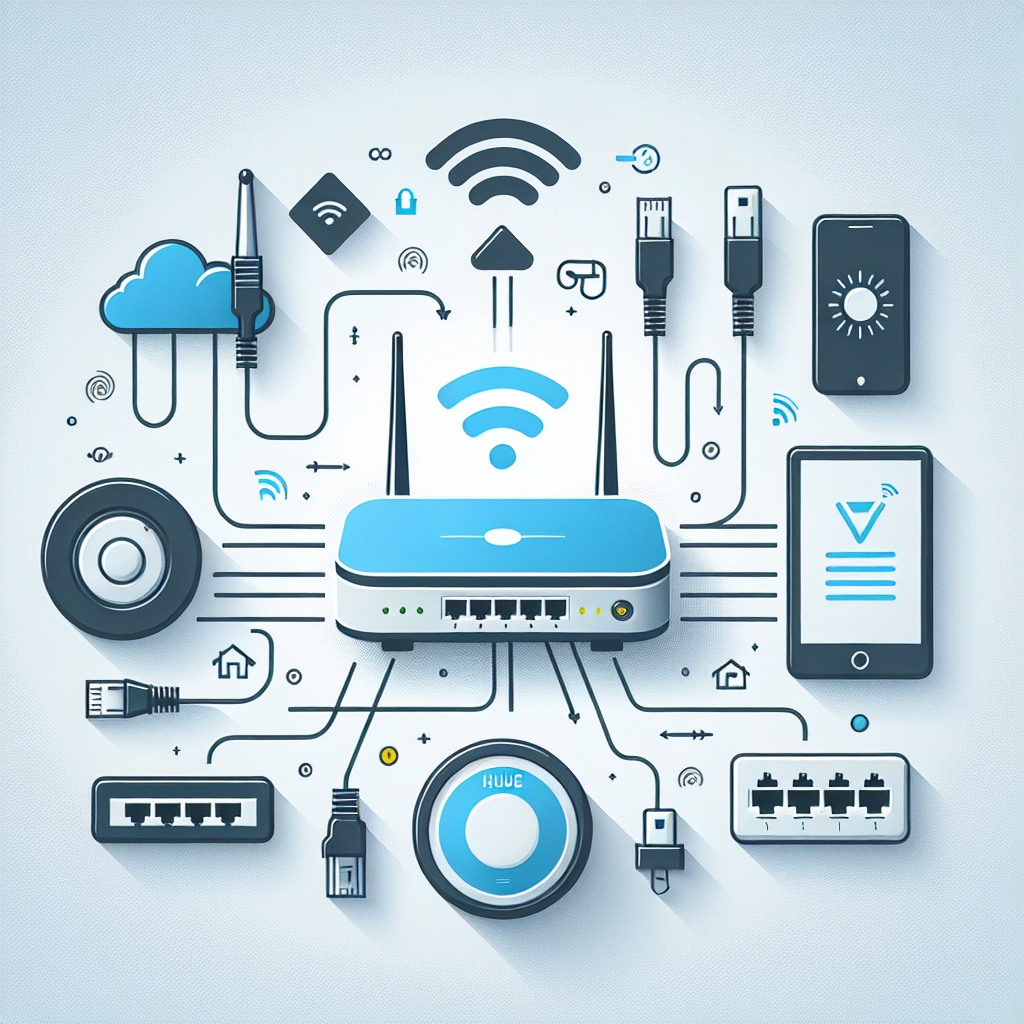
Connecting your Philips Hue Bridge to the internet is a crucial step in creating a seamless smart home lighting system. Whether you’re a newbie or an experienced smart home enthusiast, this guide will walk you through the process to ensure your Hue Bridge is connected successfully. We’ll break down each step so you can enjoy full remote control of your Hue lighting system in no time.
Step-by-Step Guide to Connect Your Hue Bridge
Below are the key steps you need to follow to connect your Hue Bridge to the internet:
1. Gather Necessary Equipment
Before you start, make sure you have the following items:
- Philips Hue Bridge
- Power adapter
- Ethernet cable
- A router or modem with internet access
- Philips Hue bulbs (optional for testing)
2. Power Up Your Hue Bridge
Connect your Philips Hue Bridge to its power adapter. Plug it into a wall outlet and ensure the four LED lights on the front of the Hue Bridge begin to light up one by one. This process may take a few minutes.
3. Connect the Bridge to Your Router
Use the provided Ethernet cable to connect the Hue Bridge to your router. Plug one end of the cable into the Ethernet port on the Hue Bridge and the other end into an available Ethernet port on your router.
4. Wait for Initialization
Once connected to the router, the Hue Bridge will start its initialization process. Wait for all four LED lights to be steadily lit. This indicates that the Bridge is successfully connected to your network and the internet.
5. Download the Philips Hue App
Go to your smartphone’s app store and search for the Philips Hue app. Download and install it on your device. The app is available for both iOS and Android devices.
6. Open the Hue App and Set Up
Launch the Philips Hue app and follow the on-screen instructions to set up your system. The app will search for your connected Hue Bridge and prompt you to press the button in the center of the Bridge to link it with the app.
7. Test Your Connection
Once the app successfully connects to the Hue Bridge, you can start adding your Philips Hue bulbs. Turn on your Hue bulbs and follow the app instructions to add them to your lighting system.
Troubleshooting Tips
If you encounter issues while connecting your Hue Bridge to the internet, consider the following troubleshooting tips:
1. Check Connections
Ensure all cables are securely connected. Loose connections can prevent the Hue Bridge from establishing a stable internet connection.
2. Restart Devices
Sometimes, a simple restart of your router or Hue Bridge can resolve connectivity issues. Unplug both devices, wait for a minute, and then plug them back in.
3. Firmware Updates
Ensure your Hue Bridge firmware is up-to-date. The Philips Hue app will notify you if a firmware update is available. Keeping firmware updated can help resolve bugs and improve connectivity.
4. Check for Interference
Electromagnetic interference from other devices can disrupt the connection. Ensure that the Hue Bridge is placed away from devices like microwaves and cordless phones.
Benefits of Using a Hue Bridge
Connecting your Hue Bridge to the internet offers numerous advantages, including:
- Remote Control: Control your lights from anywhere using the Philips Hue app.
- Voice Control: Integrate with smart home systems like Amazon Alexa, Google Assistant, and Apple HomeKit.
- Advanced Lighting Scenes: Create and automate lighting scenes to match your daily routines.
- Energy Efficiency: Manage energy consumption through smart lighting schedules and settings.
Conclusion
Connecting your Hue Bridge to the internet is a straightforward process that can transform your home lighting experience. With just a few steps, you can enjoy the convenience and flexibility of smart lighting, enhancing both your comfort and efficiency. Follow this guide to get your Hue system up and running, and start exploring the endless possibilities of smart lighting.

